
Last updated September 24, 2026
Attic Insulation Maintenance Checklist for La Puente Homeowners
Blown-in cellulose loses roughly 1 inch of depth for every decade in a La Puente attic, partly from gravity and partly from the Santa Ana wind events that pressurize the house and pull conditioned air through every unsealed top-plate penetration. That inch of loss is about R-3 gone - silently, with no visible damage to photograph. Most attic checklists tell you to “look for damage.” This one gives you specific measurements, failure thresholds, and the exact order to check them so a two-hour attic visit produces a written condition record rather than a vague impression. You’ll learn how to measure insulation depth at five representative points, calculate R-value from material type, spot the three signs of failed air sealing, and time your annual check for October - before the first Santa Ana wind event of the year.
Quick Answer
Attic insulation maintenance in La Puente means measuring insulation depth at five points, calculating current R-value against material-specific tables, inspecting for rodent channeling and moisture staining at eave baffles, and verifying air sealing at top plates and penetrations - ideally every October before Santa Ana wind season begins. A proper two-hour inspection produces a written record with photos that future contractors or a buyer’s inspector can compare to a known baseline. If your insulation depth has dropped more than 2 inches from original install, or if you see daylight through top plates, it’s time for our Attic Insulation services.
Table of Contents
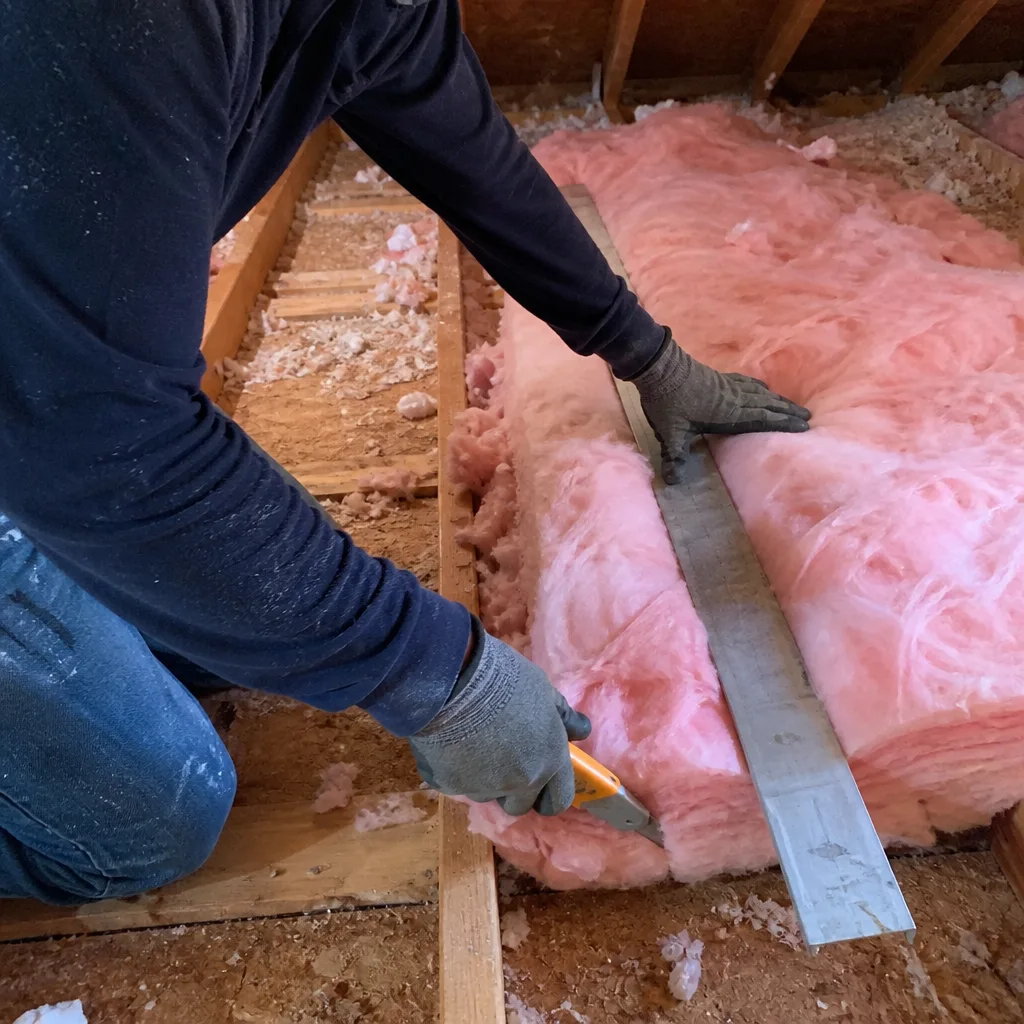
- How to Measure Insulation Depth and Calculate R-Value
- Visual Inspection: What Failure Actually Looks Like
- The Air Sealing Check: Finding the Gaps That Matter
- Why October Matters: La Puente’s Santa Ana Season
- Recording Your Baseline: Photos, Numbers, and Documentation
- Material-Specific Maintenance Notes
- Common Mistakes to Avoid
- When to Call a Professional
- Frequently Asked Questions
How to Measure Insulation Depth and Calculate R-Value
R-value measures thermal resistance - how effectively your insulation blocks heat flow. In La Puente’s climate zone 10, the California Energy Code calls for R-38 to R-49 in attics for new construction, but many homes built between 1950 and 1990 were originally insulated to R-19 or less. The first step in maintenance is knowing what you actually have.
You’ll need a tape measure, a camera, a notepad, and a straight piece of wood or a yardstick long enough to reach the drywall below the insulation. Do this on a cool morning; La Puente attics can exceed 140°F by midday in August.
- Mark five measurement points. Choose: (1) center of attic, (2) within 3 feet of the attic hatch, (3) near the north eave, (4) near the south eave, and (5) within 4 feet of any HVAC equipment platform. These points catch the common patterns of settlement and disturbance.
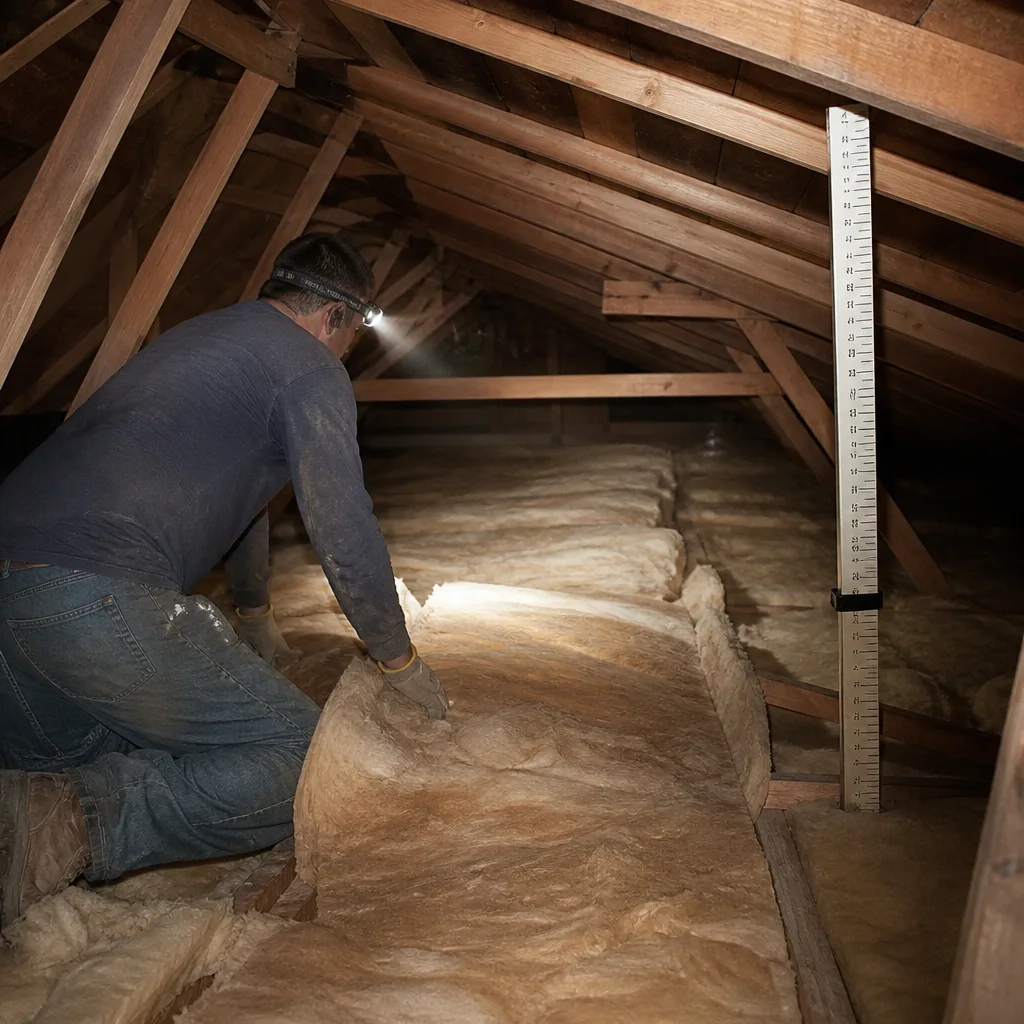
- Compress gently, measure to drywall. Push the straightedge down until you feel firm resistance (the drywall or plaster ceiling), then read the depth at insulation surface level. Record each measurement to the nearest half-inch.
- Identify your insulation material. Cellulose looks like gray, fibrous confetti. Fiberglass batts are pink, yellow, or white with a distinct woven texture. Blown fiberglass is white and fluffy. Open-cell spray foam is soft and spongy, usually cream-colored. Closed-cell spray foam is rigid and yellow-tan.
- Calculate R-value using material-specific rates. Multiply average depth in inches by the R-value per inch:
- Cellulose (including GreenFiber): R-3.2 to R-3.8 per inch
- Fiberglass batts (Owens Corning, Johns Manville, Knauf): R-3.1 to R-4.3 per inch depending on density
- Blown fiberglass: R-2.2 to R-2.9 per inch
- Open-cell spray foam (Icynene, Demilec): R-3.6 to R-3.8 per inch
- Closed-cell spray foam: R-6.0 to R-7.0 per inch
- Compare to target and to previous measurements. If this is your first inspection, record the numbers as your baseline. If you have prior records, note any depth loss exceeding 2 inches - that threshold indicates meaningful performance degradation.
In our work across La Puente’s older neighborhoods like Avocado Heights and the streets north of Amar Road, we regularly find original R-19 fiberglass batts compressed to R-12 or less by decades of storage, foot traffic, and rodent activity. The measurement takes ten minutes. The documentation protects you for years.
Visual Inspection: What Failure Actually Looks Like
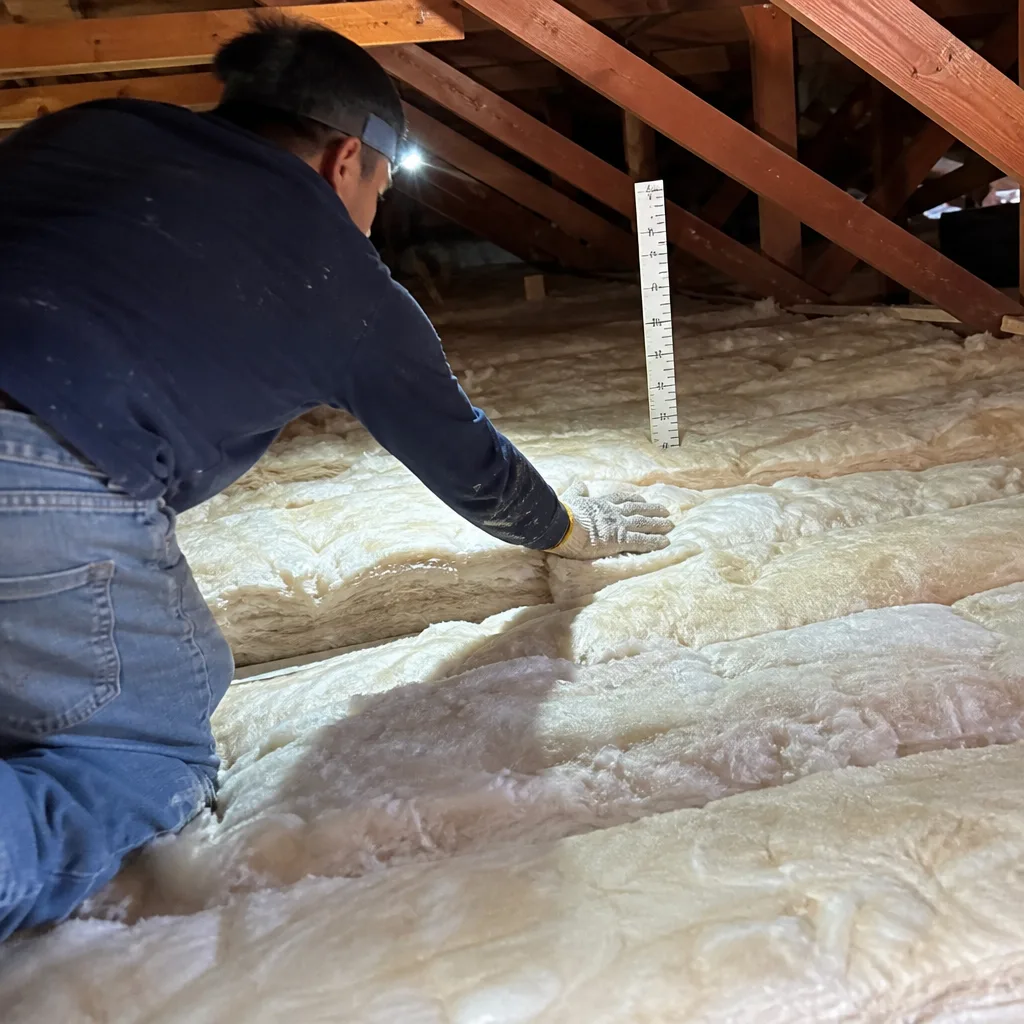
Damage isn’t always dramatic. These are the specific visual criteria that separate “needs attention” from “fine for another year.”
Rodent Channeling
Look for narrow pathways, 2 to 4 inches wide, pressed through loose-fill insulation down to the drywall surface. These run along joists and near eave edges where rodents travel. Fresh channeling has smooth walls and may include droppings. Older, abandoned channels collapse partially and fill with dust. Either condition reduces effective R-value by compressing insulation and creating thermal bypasses. In La Puente, roof rat activity peaks in late summer when attic temperatures drop from their July highs; channels found in October inspection are often fresh.
Moisture Staining at Eave Baffles
Eave baffles - the cardboard or foam channels that maintain airflow from soffit vents over insulation at the roof edge - should show no water staining, mold, or warping. In La Puente, moisture issues at baffles usually trace to two causes: blocked soffit vents (common in homes with overgrown oleander or bougainvillea against eaves) or bathroom exhaust fans vented into attic space rather than through the roof. Staining appears as yellow-brown discoloration on baffle surfaces or dark spotting on adjacent insulation. Any active moisture source degrades cellulose fastest; fiberglass resists moisture better but loses R-value when compressed by the weight of wetting and drying cycles.
Compressed Batts Near HVAC Platforms
Fiberglass batts installed around air handler platforms get compressed by technicians kneeling, equipment vibration, and stored items. A batt compressed to half its original thickness delivers roughly half its rated R-value. Measure depth at these locations separately from your five main points. If platform-adjacent batts read 3.5 inches where the rest of the attic reads 6 inches, that’s a localized cold spot that drives heat loss disproportionately.
Insulation Displacement Near Recessed Lights
Older recessed can lights, especially non-IC rated fixtures installed before 2010, often have insulation pushed back to create a 3-inch clearance for fire safety. Each clearance gap is a thermal bypass. In a La Puente attic with twenty can lights, that’s significant cumulative loss. Modern IC-rated LED retrofits allow insulation contact, but many homes still have the old configuration.
Document each finding with a photo showing the measuring tape or straightedge in frame for scale. Photos without scale are useless for year-over-year comparison.
The Air Sealing Check: Finding the Gaps That Matter
Air sealing is the work that happens before insulation goes in - or should. A blower-door test, which we perform on every applicable job at Topside Attic Insulation La Puente, pressurizes the house and measures total air leakage in CFM50 (cubic feet per minute at 50 Pascals pressure). But you can find major leakage paths with a flashlight and careful observation.
Top Plate Gaps
The top plate is the horizontal framing member where wall studs meet the ceiling drywall. In most La Puente homes built before 2000, this joint was not sealed during original construction. Look for daylight visible from the attic through gaps between the top plate and drywall edge. These gaps are typically 1/8 to 1/4 inch wide, running continuously along exterior and interior wall lines. During Santa Ana wind events, the pressure differential between attic and conditioned space pulls heated or cooled air through these gaps continuously. A gap you can see daylight through is a gap that matters.
Unsealed Can-Light Penetrations
Remove the trim ring from one recessed can light (power off at breaker) and examine the ceiling penetration from above. The drywall cutout should be sealed to the can housing with fire-rated caulk or foam. Most original installations have no seal - just a rough drywall hole. Conditioned air streams through this gap year-round. In homes with vaulted ceilings or open floor plans common in La Puente’s 1960s ranch-style stock, the cumulative effect across fifteen or twenty cans is equivalent to leaving a window cracked open.
Disconnected Flex-Duct Collars
Flex duct connects metal trunk lines to ceiling registers with a collar and clamp. In attics, these collars loosen from thermal cycling, vibration, and rodent disturbance. A disconnected collar blows conditioned air directly into attic space - 100% loss, invisible from below. Check each collar by hand; it should be tight enough that you cannot rotate the flex duct on the collar without deliberate force. Any looseness, tape failure, or visible gaps requires reconnection and sealing with mastic, not duct tape. Duct tape fails in attic heat; mastic remains flexible.
Chimney and Flue Penetrations
Any combustion appliance vent passing through the attic needs a metal firestop with proper clearance to combustibles. We see degraded fiberglass stuffed around flues in La Puente homes - a fire hazard and an air leak. Proper sealing requires fire-rated materials and maintained clearances per manufacturer specification.
If your inspection reveals multiple unsealed top plates, unsealed can lights, and disconnected ductwork, the attic has never received proper air sealing. Insulation added over these conditions, as we see too often, simply hides the problem while conditioned air continues escaping. Attic insulation in La Puente should never be installed without prior air sealing - that’s Haven Standard practice, not an upsell.
Why October Matters: La Puente’s Santa Ana Season
La Puente sits in the San Gabriel Valley, positioned to receive Santa Ana wind events that accelerate through the Cajon Pass and Santa Ana Canyon before spreading across the Los Angeles Basin. These winds typically begin in October and peak November through January. For attic insulation maintenance, this timing creates a specific annual window.
Here’s the mechanism: Santa Ana winds are hot, dry, and high-pressure. They pressurize the exterior of the house while the interior remains at normal pressure. Any unsealed penetration in the attic floor becomes a one-way exhaust port for conditioned air. The pressure differential is strongest during wind events, but the leakage paths exist continuously. An attic inspected and sealed in October enters wind season with verified integrity. An attic inspected in March may have developed new rodent channels, displaced insulation, or failed duct connections during winter - and won’t be checked again until after the next wind season begins.
October inspection also catches summer damage. La Puente attics spend June through September above 130°F for extended periods. This thermal stress degrades foam air sealing, accelerates flex-duct aging, and drives rodents to seek cooler pathways that displace insulation. By October, the evidence is fresh and the repair window is open before heating season begins.
We schedule our annual maintenance visits for La Puente homeowners in September and October for this reason. The spray foam insulation in La Puente we install with Demilec and Icynene products receives its annual visual check in this same window - thermal cycling can create separation at substrate interfaces that early inspection catches.
Recording Your Baseline: Photos, Numbers, and Documentation
A proper inspection produces a document that future you, a future contractor, or a buyer’s inspector can read and compare. Vague impressions (“insulation looks okay”) are worthless. For more guides & resources, see our blog. Here’s the format we use and recommend.
- Cover sheet: Date, outdoor temperature at inspection time, your name, and property address. Note if HVAC was running during inspection - operating equipment changes attic air movement and can affect moisture readings if you’re using a meter.
- Five-point depth measurement table:
Location Material Depth (in) R-value per in Calculated R Center Near hatch North eave South eave Near HVAC - Photo log: Number each photo to match measurement points. Include one overall attic photo from the hatch, then detail shots of each measurement location, any damage found, and any air leakage paths. Photos must include the measuring device for scale.
- Condition notes: Rodent channeling (location, approximate length, fresh or old), moisture staining (location, extent, active or dry), compressed batts (location, original vs. current depth), air sealing gaps (location, approximate linear feet), duct condition (collar tightness, visible damage).
- Recommended actions with priority: Immediate (safety or major performance issue), this season (before heating or cooling peak), next annual inspection.
Store this record with your home improvement files. When you sell, a documented insulation history with photos and R-value calculations differentiates your property from comparable listings. When you call for service, the record lets any competent contractor assess change over time rather than guessing at original condition.
At Envelope Insulation Co., every job closes with a Documented Photo Record - included on every visit, not available on request. Homeowners receive before-and-after blower-door numbers on applicable jobs, a written scope, and written warranty before any work starts. That’s Haven Standard Clause 1: flat price, written scope, written warranty before anyone lifts a tool.
Material-Specific Maintenance Notes
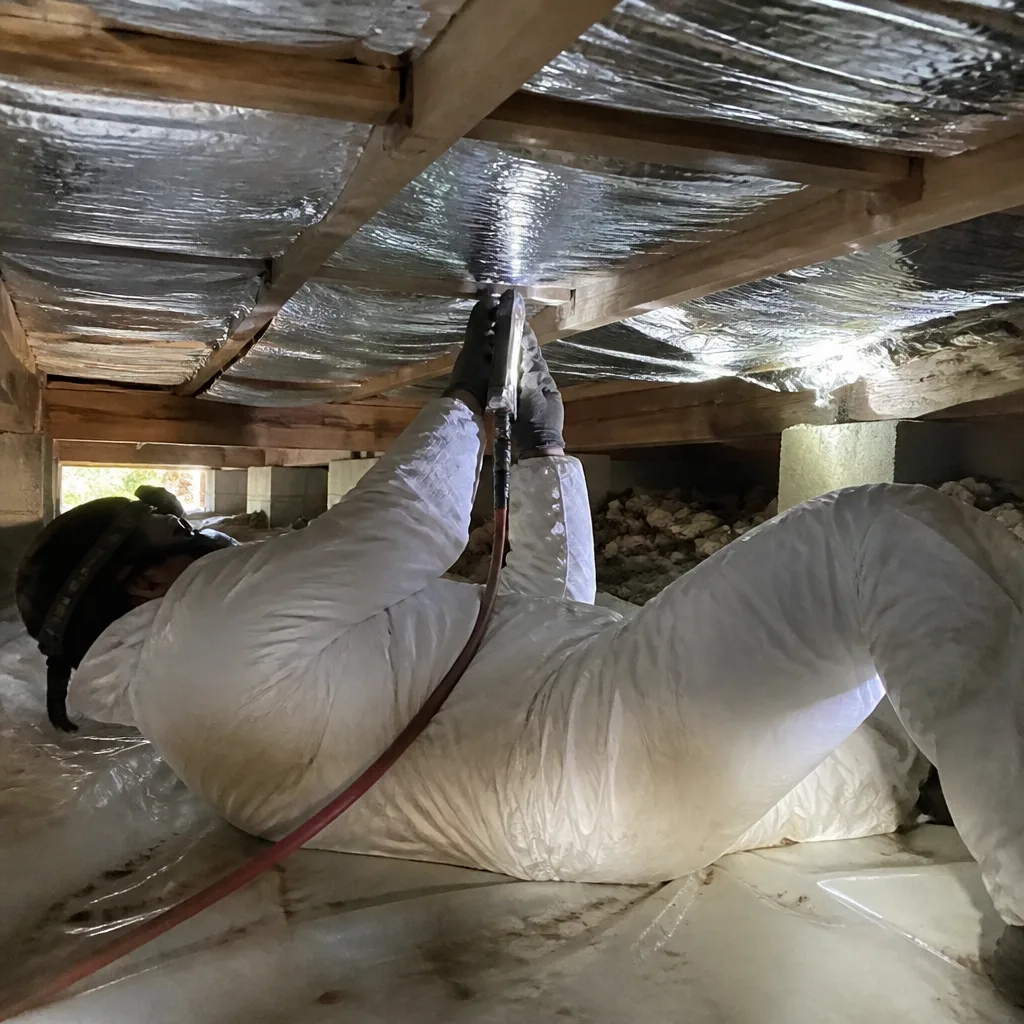
Different insulation types fail differently. Your maintenance checklist should reflect what you actually have.
Cellulose (Including GreenFiber)
Cellulose settles predictably - 10 to 20 percent in the first year, then slower ongoing loss from gravity and air movement. In La Puente’s dry climate, mold is rare unless roof leaks occur, but the material becomes dusty and loses loft over time. Check for uniform color; dark streaks indicate air washing - conditioned air moving through the insulation and depositing dust. Air washing creates channels that bypass insulation entirely. Cellulose near eave vents can migrate toward the vent opening in strong wind events, creating thin spots. Measure carefully at eave points; these are often the first locations to drop below effective R-value.
Fiberglass Batts and Blown (Owens Corning, Johns Manville, Knauf)
Fiberglass doesn’t settle like cellulose, but it compresses permanently under load. Batts walked on, stored on, or pressed by HVAC technicians never recover original thickness. Blown fiberglass is lighter and more prone to air washing than cellulose - the low density that makes it easy to blow also makes it easy to disturb. Check for thin spots near attic hatches and equipment platforms. Pink or yellow color fading to gray indicates age and possible degradation of binder; faded batts are often brittle and may have lost R-value even if thickness appears correct.
Spray Foam (Icynene, Demilec Open-Cell; Closed-Cell Various)
Open-cell spray foam remains soft and should rebound when pressed gently. Permanent indentation indicates overexposure to heat or UV (from roof leaks or gable vent sunlight). Check for separation at substrate interfaces - where foam meets wood, drywall, or masonry. Thermal cycling causes differential expansion; gaps at these joints are air leaks the foam was installed to prevent. Closed-cell foam is rigid and more durable, but inspect for mechanical damage from tradespeople working in the attic. Any exposed foam surface should be inspected annually; foam protected by a thermal barrier (drywall, intumescent coating) needs less frequent visual check but should be included in your October routine.
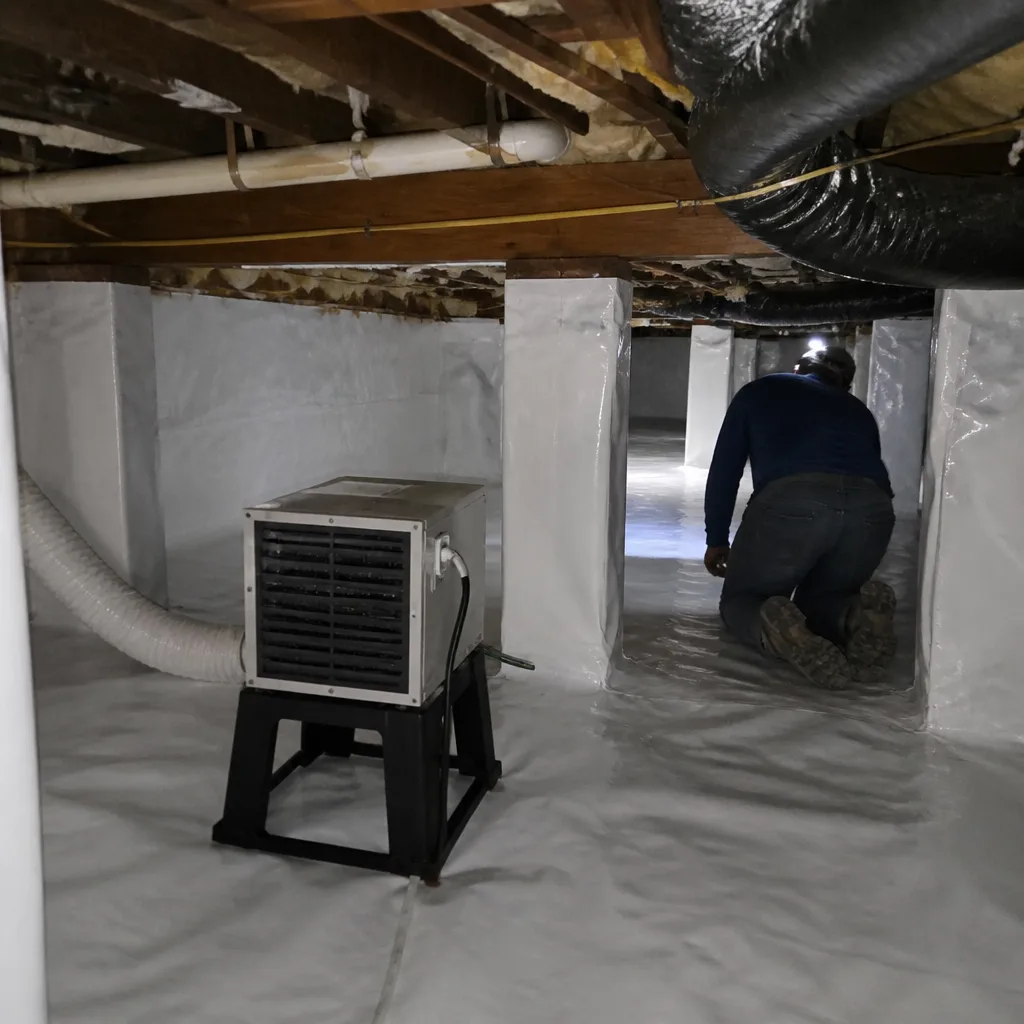
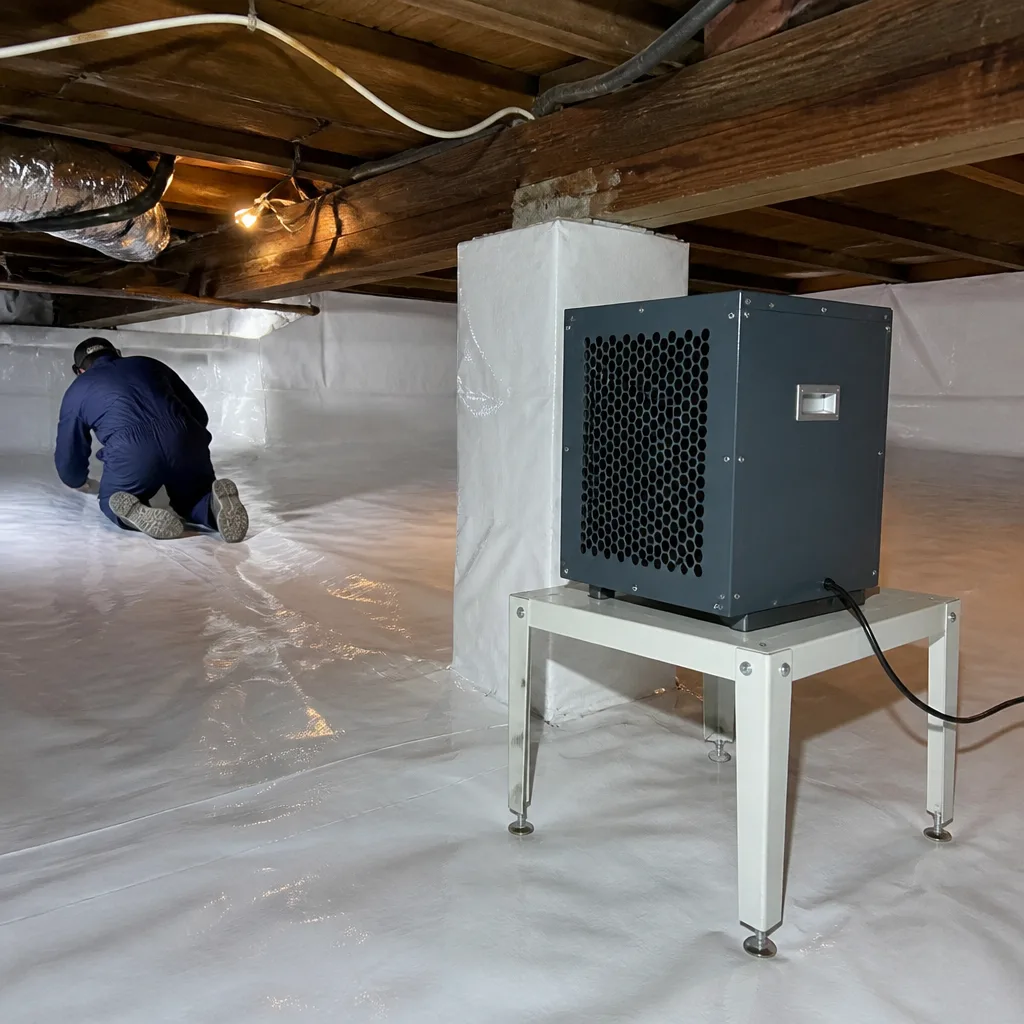
For crawl space encapsulation and vapor barrier in La Puente, the same documentation discipline applies: measure, photograph, record, compare year over year. Crawl spaces share the same Santa Ana pressure dynamics and the same need for sealed-before-insulated protocol.
Common Mistakes to Avoid
- Measuring only at the attic center. Center measurements are almost always the deepest and most uniform. Eaves, hatches, and equipment zones are where failure happens first. Five points minimum, or your average R-value is fiction.
- Adding new insulation over old without inspection. We’ve opened attics in La Puente where three layers of fiberglass hide active roof leaks, extensive rodent infestation, and disconnected ducts. Each new layer made the underlying problem more expensive to fix. Inspect completely, then add.
- Ignoring air sealing because “the insulation is fine.” Insulation slows heat flow; air sealing stops air flow. An R-38 attic with unsealed top plates performs like an R-20 attic with proper sealing. The blower-door test proves this on every job - we’ve seen 4,200 CFM50 drop to 2,100 after sealing alone, before any insulation upgrade.
- Using the wrong R-value per inch for your material. Cellulose at R-3.7 and blown fiberglass at R-2.5 are not interchangeable calculations. Misidentification leads homeowners to believe they have adequate insulation when they don’t.
- Skipping photos or taking photos without scale. “Before” photos with no measuring device are unverifiable. A photo of gray insulation tells no one its depth. Include the tape measure in every shot.
- Inspecting in peak summer heat. La Puente attics in August are dangerous environments. Morning inspections in spring or fall are safer and let you work carefully rather than rushing to escape heat exhaustion.
- Assuming original installation was correct. Homes in La Puente’s Valinda and West Puente Valley areas often have insulation installed to 1970s or 1980s standards, with gaps around chimneys, compressed batts over electrical junction boxes, and no air sealing whatsoever. Don’t maintain a defective installation - identify it and plan correction.
When to Call a Professional
Some conditions exceed homeowner maintenance scope. Call for professional assessment if you find: active moisture or mold (any color, any extent), rodent infestation with fresh droppings or urine staining, disconnected flue pipes or compromised firestop assemblies, spray foam separation exceeding 1/2 inch at any substrate joint, or cumulative insulation loss exceeding 30 percent of original depth. These involve safety hazards, specialized remediation, or warranty considerations.
Also call if your calculated R-value falls below R-30 in a home you intend to keep for more than three years - the energy cost differential pays for assessment and likely upgrade within that window, especially with La Puente’s rising summer cooling loads. See The Complete Guide to Insulation in La Puente for deeper context on R-value targets.
Topside Attic Insulation La Puente offers free estimates in La Puente. We’ll inspect, measure, and provide a written price before any work starts - no exceptions. Call (626) 509-3237. We also provide a Free Second Opinion on any written estimate from another contractor; bring us their scope and we’ll read it with you.
Frequently Asked Questions
Inspect annually, ideally in October before Santa Ana wind season begins. This timing catches summer thermal damage and rodent activity while allowing repairs before heating season. Homes with spray foam insulation or recent air sealing may extend to every 18 months if the first two inspections show stable condition. Call (626) 509-3237 if you find changes exceeding your baseline - estimates are free.
Professional inspection and assessment typically runs $150 to $350 in the La Puente market, depending on attic accessibility, square footage, and whether blower-door testing is included. Remediation costs vary with condition: air sealing alone for a 1,200-square-foot attic runs $800 to $1,800; adding insulation to reach R-38 after sealing runs $1.50 to $3.00 per square foot depending on material. We provide a written price before any work starts, always. Call (626) 509-3237 for a specific quote on your home.
Only after complete inspection of the existing material. Adding over wet, moldy, or heavily rodent-contaminated insulation traps the problem and may violate manufacturer warranty terms for the new material. In La Puente, we frequently find that “topping off” requests reveal underlying air sealing failures that should be corrected first. The correct sequence is inspect, seal, then insulate - never the reverse.
Air sealing stops air movement through gaps and penetrations using caulk, foam, and mastic. Insulation slows heat flow through solid materials. An attic can be well-insulated and still leak enormous conditioned air if unsealed. The blower-door test - a pressurization reading that shows, in one number, how much air your building envelope is losing - measures air sealing effectiveness. Insulation R-value measures heat flow resistance. Both matter; neither substitutes for the other.
La Puente attics reach 130°F to 145°F in summer because dark roofing absorbs solar radiation and ventilation often insufficient for the thermal load. Prolonged heat exposure degrades spray foam binders, makes fiberglass batts brittle, and accelerates flex-duct aging. Proper ventilation - calculated to 1:150 ratio of net free vent area to attic floor area - helps but doesn’t eliminate the problem. Radiant barrier installation, which we assess case by case, can reduce attic temperatures 20 to 40 degrees in La Puente’s sun-exposed roofs.
Look for sealed top plates (no daylight visible, foam or caulk at drywall-to-framing joints), sealed can-light penetrations (fire-rated foam or caulk around housing), and mastic-sealed duct collars with no tape. If you can see daylight from the attic into wall cavities, or if insulation shows dark streaking from air movement, sealing is incomplete. A blower-door test provides definitive measurement; we publish before-and-after numbers on every applicable job so homeowners can verify the result.
The Bottom Line
Attic insulation maintenance in La Puente is measurable work, not guesswork. Measure five points, calculate R-value from your specific material, inspect for rodent channeling and moisture at eaves, verify air sealing at top plates and penetrations, and document everything with scaled photos. Time this for October, before Santa Ana winds test every gap you’ve found. The two-hour inspection produces a written baseline that protects your investment, guides future decisions, and proves condition to any buyer. Most La Puente homes built before 1990 have never had proper air sealing; finding that condition is the point of the checklist, not a failure of your maintenance. When the numbers show degradation beyond your threshold, or when safety hazards appear, professional assessment with documented scope and guaranteed pricing is the next step. Not sure whether to DIY or hire? Read DIY vs Professional Insulation: The La Puente Homeowner’s Decision Guide.
Written by Wes Okafor, Owner at Topside Attic Insulation La Puente, serving La Puente since 2016.